We’ve been asked before how to replace the plastic handles on picnic pumps as after a great deal of use (and abuse) they do tend to get old and crack. When this happens it’s only a matter of time before they need to be replaced.
Since there is no definitive “how to” online on the process for replacing these parts, we thought it might be nice to make one. Below is a step-by-step guide with pictures ona how to get this job done!
To note, the picnic pump we used for this demo was not a broken one, as we felt breaking one for the tutorial was ludicrous. When using a broken handle be careful not to cut yourself, but the process should be similar.
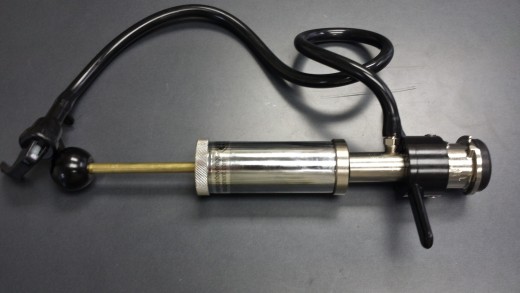
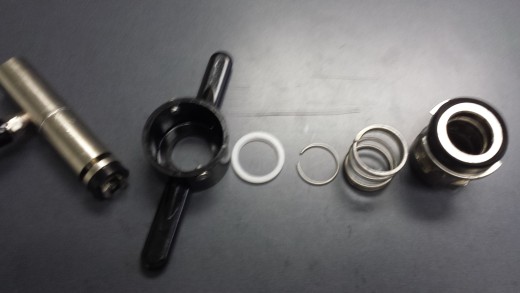
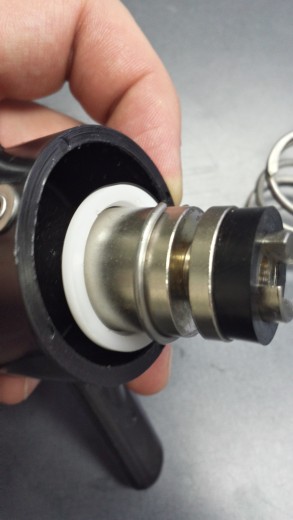
1. Know your opponent
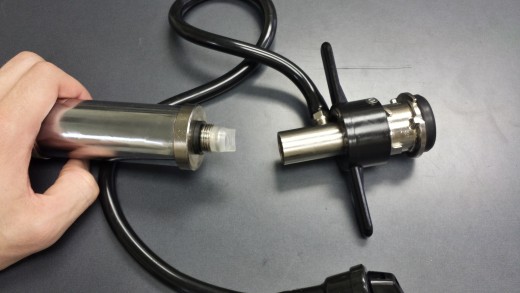
2. Unscrew the pump to access the lower half of the coupler easier.
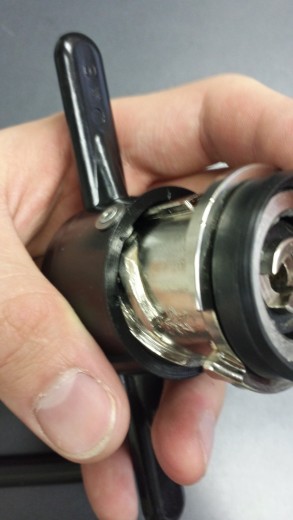
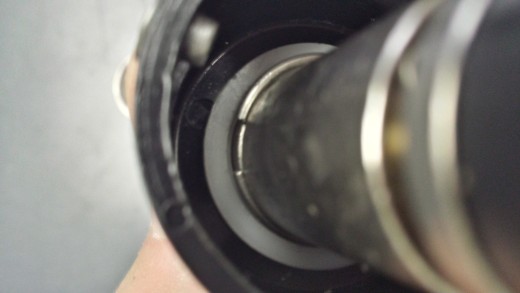
3. This is in the relaxed state. Locate the groove the handle is seated in.
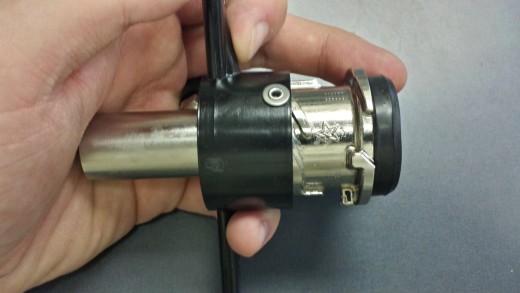
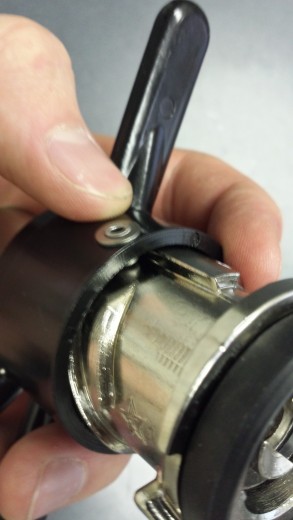
4. Squeeze and twist down as if you were coupling it to a keg.
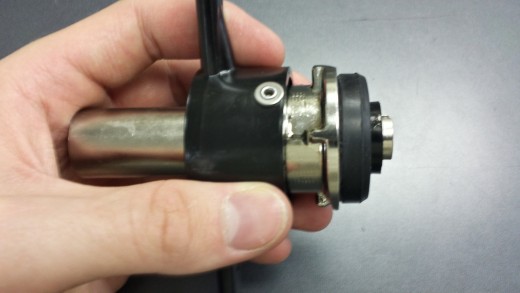
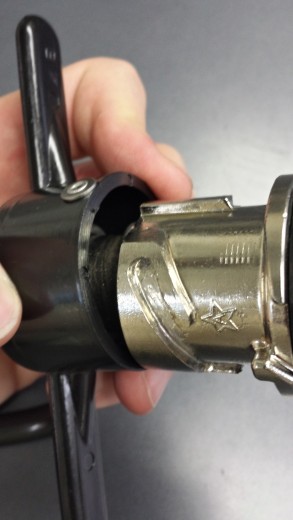
5. Once down, press down even further and twist back over the groove it was set in.
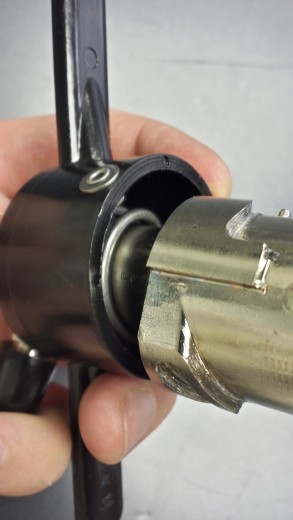
6. The wing handle should slide back off the coupler.
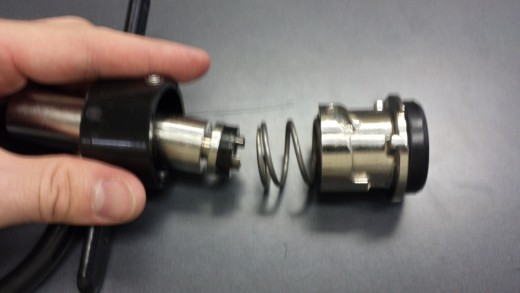
7. Slide the coupler body off the probe and the internal spring as well
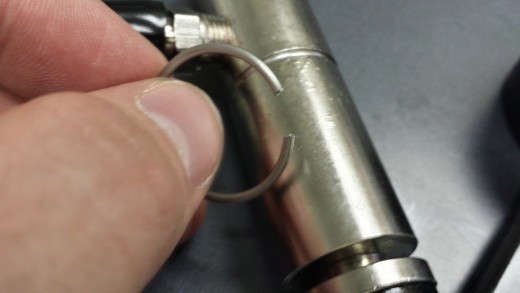
8. Remove the snap ring and washer, try using a small flathead screwdriver or break it and replace with a new snap-ring
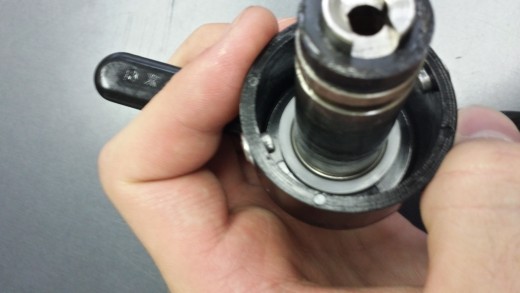
9. Remember the order you removed the parts
10. This is the snap-ring and groove it was set in.
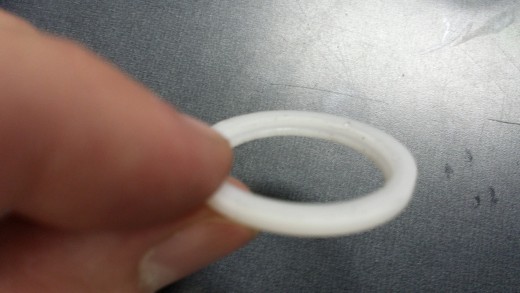
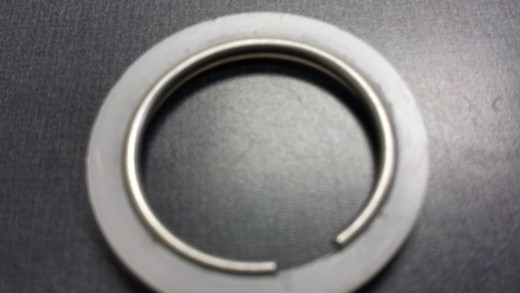
11. There is a groove on the washer that the snap-ring seats in
12. Make sure it fits snugly and put back on the probe correctly later.
13. Be careful or you can do severe damage to the probe. A few light scratches are expected, this side of the probe does not contact the beer under normal use.

14. Once you remove the handle, slide the new one on, followed by the washer and snap ring.
15. Be sure it seats properly.
16. Slide the spring and coupler body back on.
17. Line the groove up and press it back.
18. Hook back into the original groove, screw back on the pump, and you're finished!
