Deciding to Build A Jockey Box
Decision #1
Cold Plate or Coil?
While a generally simple task once you have all the parts, deciding on what kind of Jockey Box you want as well as the quality and durability of your finished product can be a bit confusing.
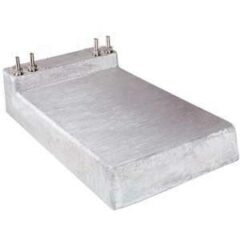
We here at Maurer Sales sell more coils for Jockey Boxes due to special event and catering customers who need to dispense in high-demand scenarios. However, we do stock 3 different cold plates as well if you decide to build a cold plate Jockey Box.
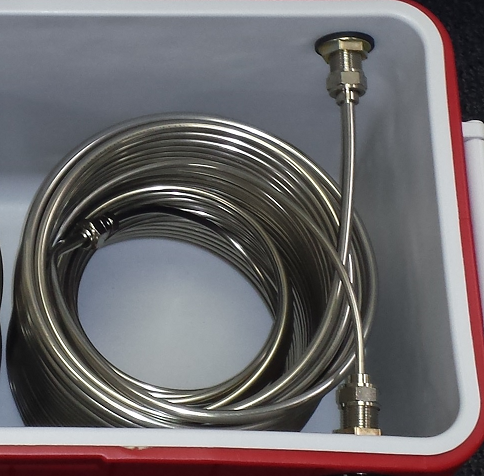
It’s wise to note that whether you get a coil or a cold plate, you will likely have stainless steel beer lines to transfer your beer.
Decision #2
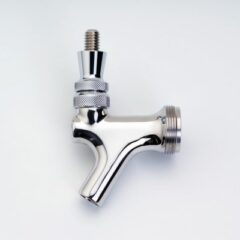
Chrome-Plated Brass or Stainless?
We like to recommend to people to use 304 Stainless due to its longevity and wide range of applications.
There are numerous parts you have to get in stainless steel if you decide to go that route, in order to have a fully stainless jockey box.
Pro's and Con's of each type
304 Stainless Steel
Chrome-Plated Brass
The first thing you need to consider is whether to use a coil or a cold plate.
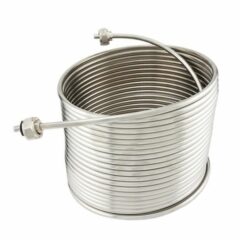
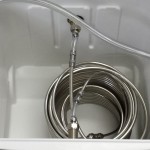
Coils
Cold-Plates
Items You Need In Stainless
Decision #3
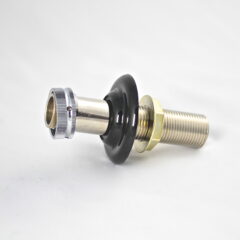
Pass-through shank or plain hole?
Next up is to consider how you’re going to get your beer into your jockey box. One method is to simply drill holes in your cooler and run beer line straight out. (For cold plates) When you’re done you can simply pull the lines back through the jockey box and leave them stored inside.
The other method is to use a metal “pass-through” shank. (Used with coils) In this instance you would use wing nuts on the ends of jumper lines to attach or detach and then store them inside the jockey box when it’s not in use.
Decision #4
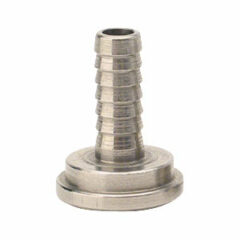
Direct Fit or Jumper line?
Finally, you should decide how you want to fit the coils (or cold plate) onto the front shanks. If you’re using a cold plate you will need to use jumper lines to bring the beer up to the shanks. With a coil, you are able to fit them directly. Sometimes, however, you encounter a situation where the coil does not want to cooperate. (Small coils) In this case you may need a few inches of line, a nut, and a tailpiece to make it the final distance.
There you have it. All the decisions you need to make before you get started. Once you know, buy your parts and get ready to build!
Examples
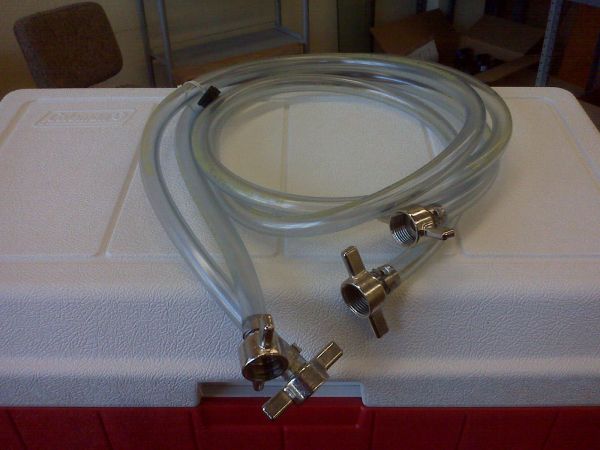
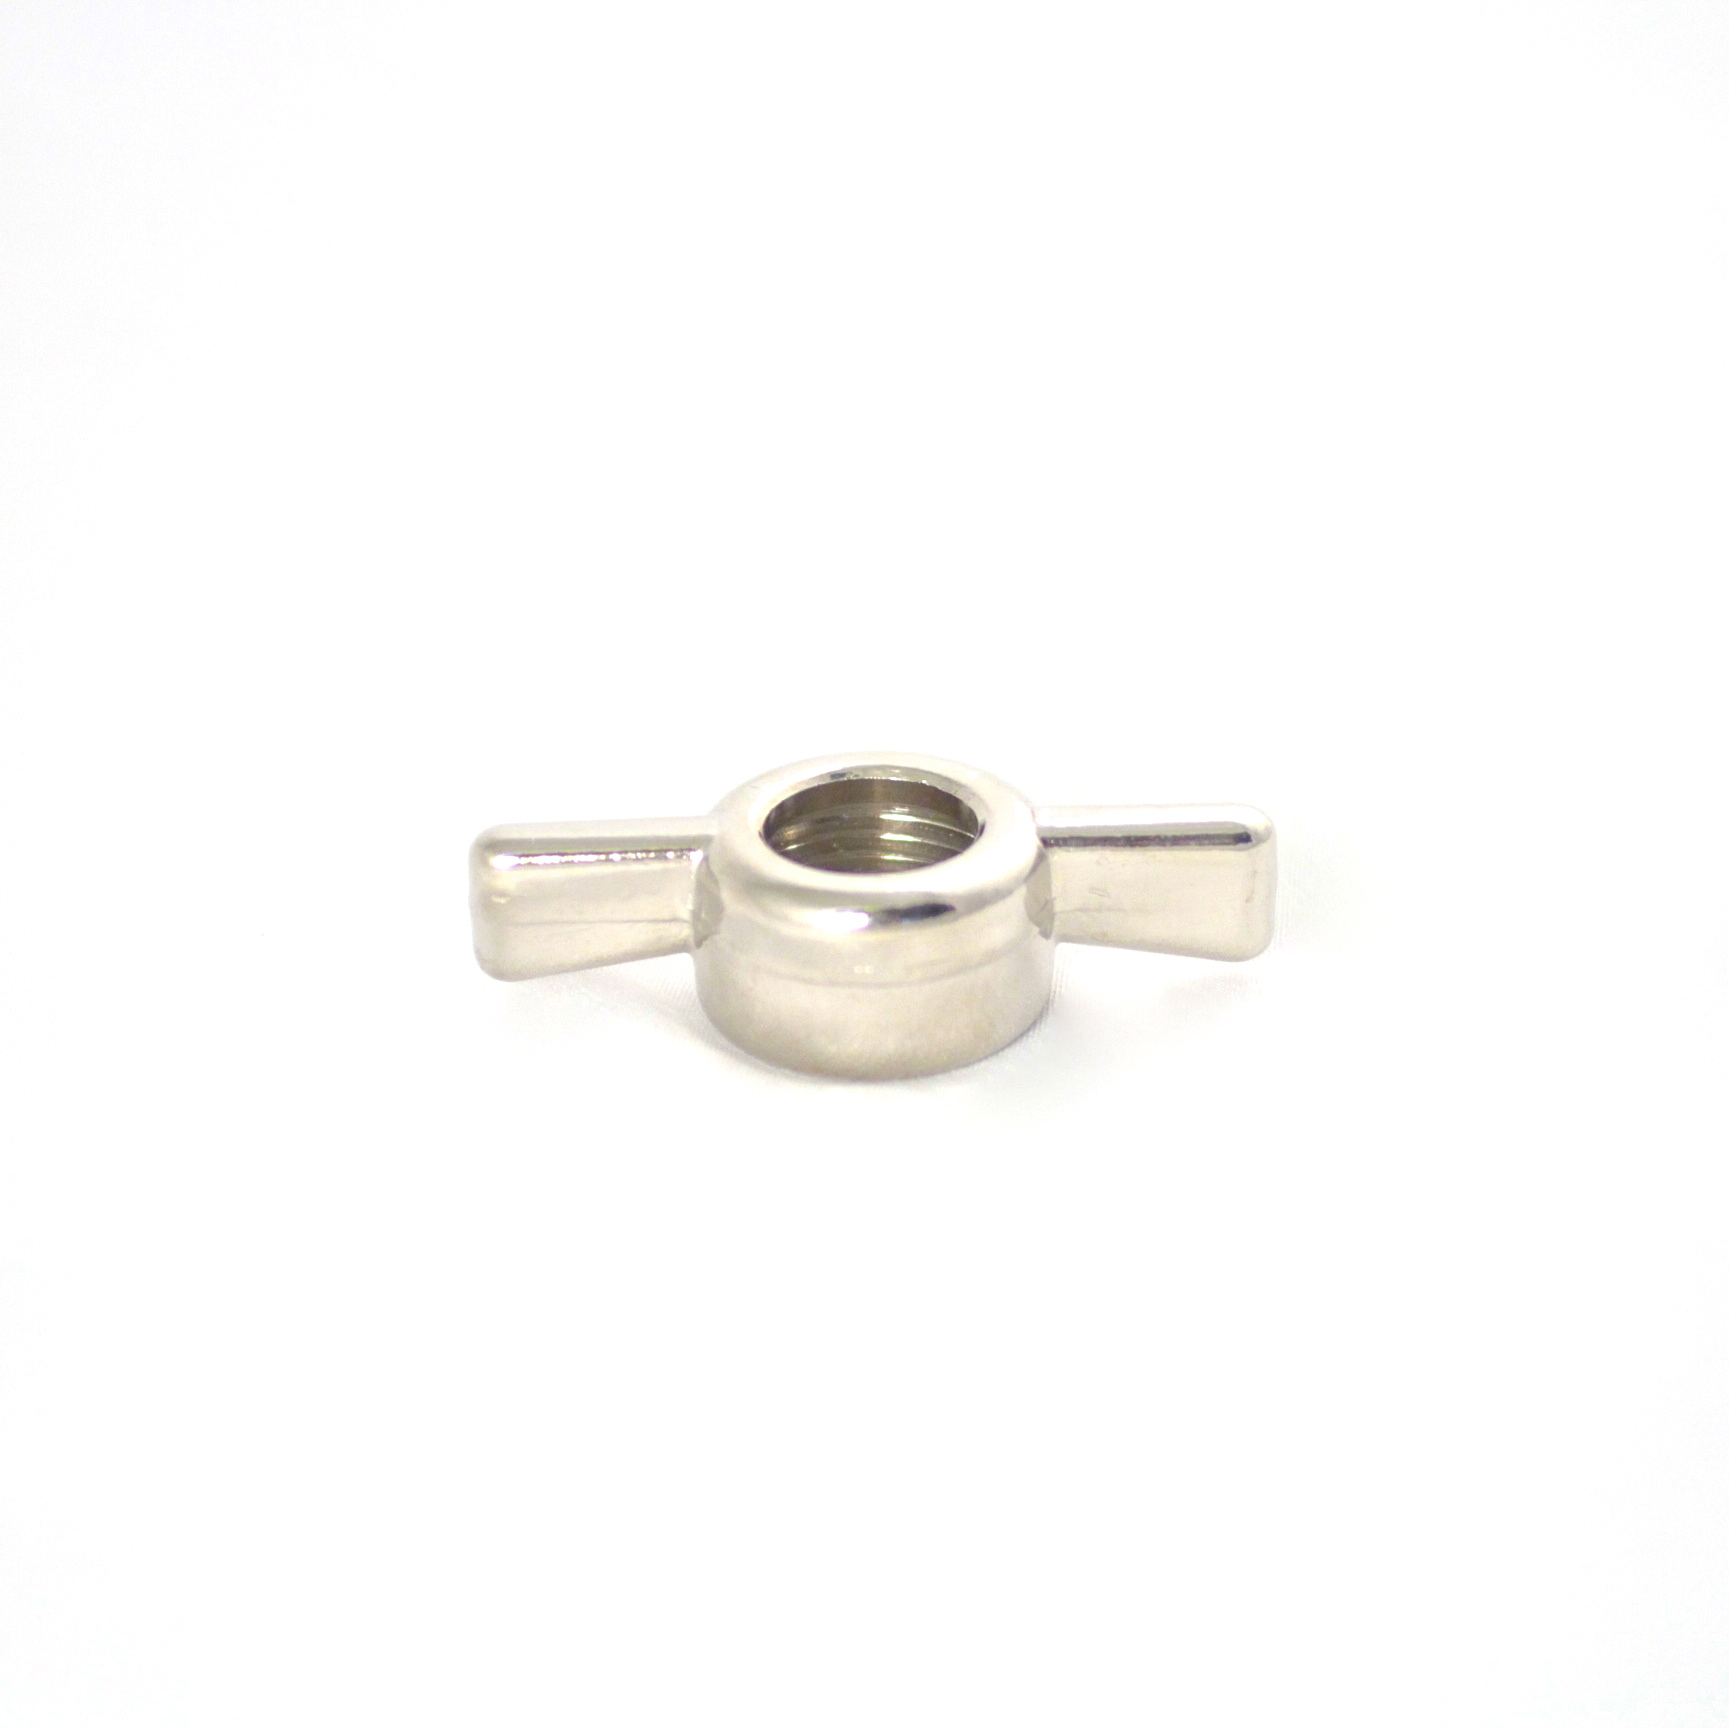
(Left : Pass-thru shank method. Middle : Jumper Lines. Right : Wing Nut.)
This is an example of how you might use jumper lines to fit coils and coolers together that do not line up perfectly.
Keep in mind that if you intend to fit the coil directly to the shank, you need to make sure you purchase a shank with a recession for the coil to fit into. We carry shanks with 5/16” and 1/4″ recessions in them specifically for this purpose.
Steps To Build A Jockey Box
- The first step in assembling your Jockey Box is always to measure where you plan to drill your holes. The second step is to measure them again.
- Next up is going to drill the holes. We use a woodboring spade drill bit, but you can use whatever you want as long as you’re able to drill a 7/8” hole in the cooler.
- Its smooth sailing from here folks, take nut off your shank, slide it in, and fasten it down lightly. (We’ll tighten later) Rinse and repeat for each hole. Make sure the faucet shanks are in the front and the pass-throughs are in the back.
- Place your coils (or cold plate) in and connect directly to shanks or with jumper lines. If you’re using lines and are having trouble getting them over the coil or barbs, take a cup of water and heat it in the microwave. Dip the tubing in the warm water to make it more malleable. (Tighten the pass-through shanks now)
- Once the coils are connected, connect your faucets to the shanks and secure the nut with a faucet wrench. (Tighten down the faucet shanks afterward)
- Create jumper lines.
Protip
Tightening the nut down last allows you to hold the faucet vertical so that when everything is fitted tightly, it doesn’t get crooked.